Introduction — A Quiet Question, a Loud Problem
Have you ever stood at the edge of a barn at dusk and wondered why the lights never seem to feel right? I ask that because more than once I’ve watched a whole aisle glow unevenly, while the rest of the space stayed dim (it nags at you).
When we compare old metal-halide and fluorescent setups to modern led barn lights, the numbers are stark: energy draws can fall by 50–70% while usable light—measured in lumens—rises significantly. Given that a single farm can run dozens of fixtures, that shift matters. So what makes the difference between a light that simply hangs in the rafters and one that truly serves the space? This piece will trace the problem, dig into where common fixes fall short, and point toward practical ways to choose better fixtures.
Let’s move from the question to the cause—and then to the solution.
Part 1 — Where Traditional Fixes Fail (Technical Perspective)
When I look at older lighting retrofits, I often see straightforward intentions: save money, cut maintenance, keep animals calm, and improve visibility. But the execution often misses critical system-level issues. For example, swapping bulbs without addressing drivers, power converters, or thermal management can leave you with flicker, reduced lifespan, and poor color rendering. That’s why, for anyone researching led barn lights indoor, the headline specs—watts and price—only tell part of the story.
Let me be blunt: you can buy a low-cost LED chip and pair it with a cheap driver, and it will light up. But the CRI (color rendering index) may be low, expecting 3000 lumens becomes wishful thinking after a year of heat stress, and photocell sensors may misread shadows near rafters. Look, it’s simpler than you think: components interact. A weak driver plus poor thermal design accelerates lumen depreciation. Beam angle mismatches create hotspots and dark aisles. Retrofit kits that ignore mounting and heat path details often fail faster than planned—funny how that works, right?
Why does that matter?
Because farmers and facility managers don’t just want light; they want predictable performance. They need fixtures that stay bright, maintain consistent color, and require minimal intervention. Yet many “solutions” focus on sticker shock rather than system health. Edge cases—like cold starts in winter, dust accumulation, or variable mains voltage—reveal the flaws in such one-dimensional thinking. So we must look deeper than lumens per dollar and examine drivers, power converters, thermal pathways, and installation ergonomics. Wait. Think about that.
Part 2 — New Principles for Better Barn Lighting (Forward-Looking)
Moving forward, I want to frame lighting choices by principles, not products. Start with the driver: pick a robust driver that supports dimming and tolerates voltage swings. Next, plan thermal management—LED junction temperature kills life faster than you’d expect. Third, design for the task: choose beam angles and mounting that match aisles, pens, and feed stations. When we apply these principles to led barn lights indoor, we stop chasing low initial cost and start buying reliable service life.
Here’s how those principles translate in practice. A fixture with a quality driver and proper heat sink will hold its lumen output longer. A careful match of beam angle and mounting reduces glare and dark zones, improving safety and workflow. Integrating photocell and simple occupancy controls can cut run hours without complex systems. I’ve seen facilities cut energy spend drastically by doing this—not just from better LEDs, but by treating the system as an interplay of optics, electronics, and placement. The future is less about gimmicky sensors and more about holistic design—CRI, beam control, and reliable power electronics matter together, not in isolation.
What’s Next for Facilities?
Manufacturers are leaning into smarter thermal materials and modular drivers that can be service-replaced. Retrofit kits are improving too—focusing on mounting integrity and wiring compatibility. These shifts mean fewer surprises and more predictable maintenance cycles.
Conclusion — How I Evaluate LED Barn Lighting Choices
After walking through the problems and the emerging principles, I pull the thread into three practical metrics I use when evaluating any barn lighting option. First: Delivered Light Quality — not just lumens on a spec sheet but measured lux in the work zone and a CRI that preserves natural color. Second: System Robustness — quality drivers, certified power converters, and sensible thermal design that reduce degradation over time. Third: Operational Fit — beam angle, mounting options, and simple controls like photocell or occupancy sensing that match daily routines. These metrics help us move from guesswork to measured decisions.
There’s no single perfect lamp. But if we judge products by these three measures, we cut through hype fast. I’ve recommended fixtures that look expensive at first yet paid me back in uptime and calm barns. — funny how that works, right? If you want to evaluate specific models, start with those three tests and insist on installation details: wiring ease, driver access, and warranty clarity. In practice, that will protect both animals and budgets.
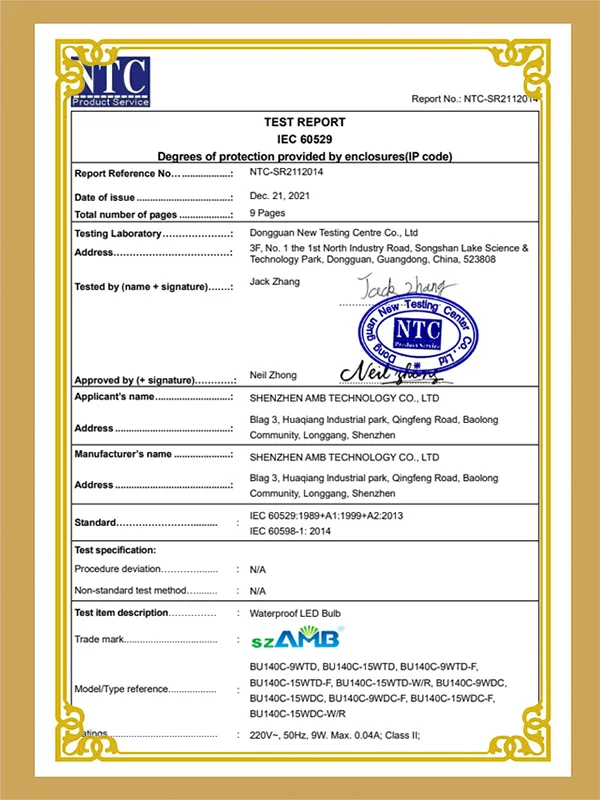
For those wanting a pragmatic next step, take an existing aisle, measure lux at typical task points, note beam coverage and shadow spots, and compare to a candidate fixture’s real-world data. I stand by that method because it’s simple and it works. Thanks for letting me walk through this with you. If you want to explore dependable options, check manufacturers who back their design claims—like szAMB—and ask for actual field reports, not only lab numbers.